Installing a Tile Wall at my Son’s School
Pack 464 50th Pinewood Derby Celebration
Why I Make
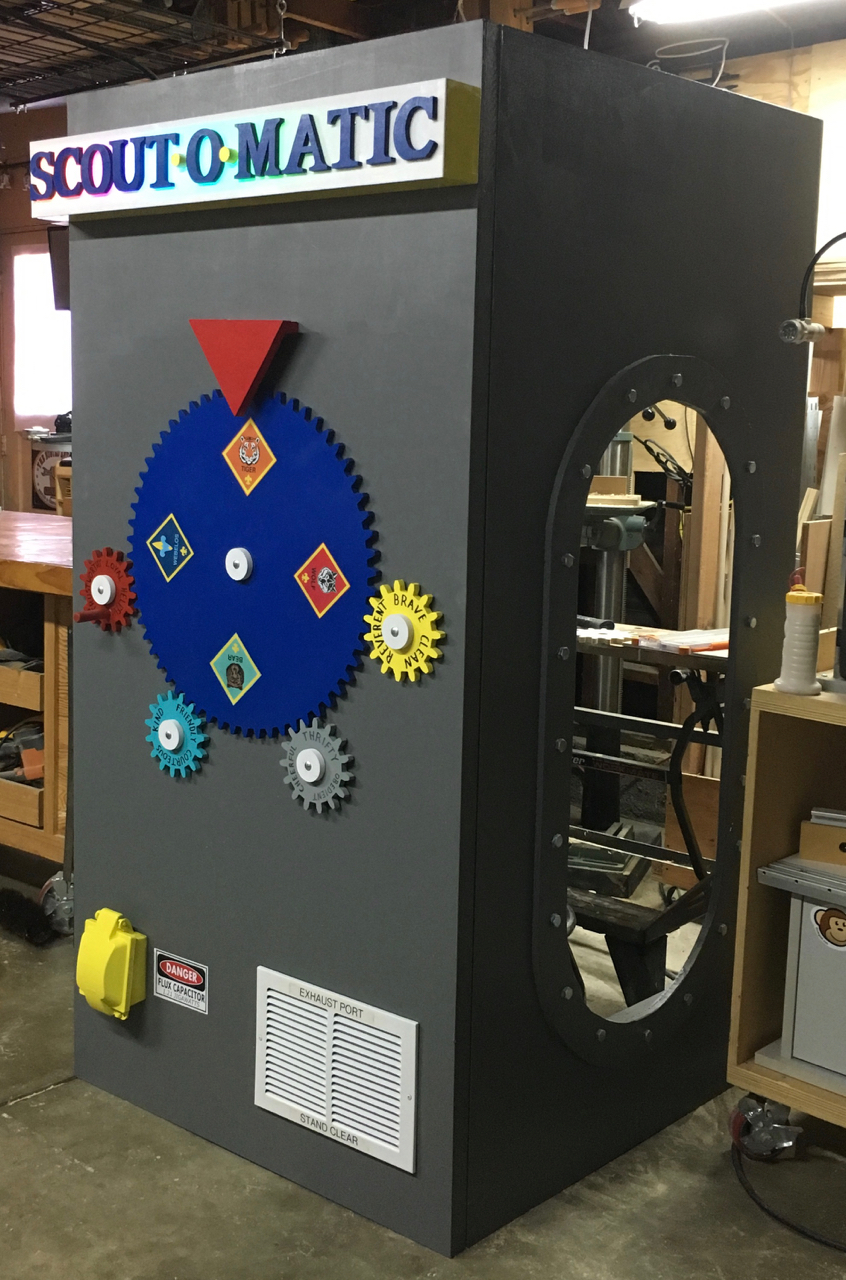
Scout-O-Matic
The idea of a Cub-o-Matic or a Scout-o-Matic is not a new one. I know of at least two other Cub Scout packs in our area who use it as part of their rank advancement ceremony. I had the privilege of seeing one of the ceremonies last year and I thought it would be a nice addition to our Pack’s activities.
With the new Cub Scout curriculum that went into affect in 2015, we now emphasize the 12 points of the Scout Law: “A Scout is trustworthy, loyal, helpful, friendly, courteous, kind, obedient, cheerful, thrifty, brave, clean, and reverent.” So, my big value add for this version of the Scout-o-Matic, is to incorporate several gears, with the 12 points of the Scout Law, that are tied to the movement of and integral to the Scout’s progress through the ranks.
I ran out of time while building this Scout-o-Matic. It had to be ready for our big event last Friday. As a result, I had to limit some of the features. In addition to the backlit sign and gears, I intend to add some dry ice and fan to the exhaust port as well as some addtional lights and sound effects for the device next year.
Patio Fountain
Raspberry Pi NTP Server using GPS
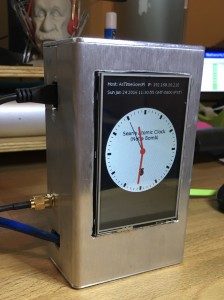
Believe it or not, I have people who work for my company who will literally wait until the very last second to get their data input into our various databases (I know, shocker! right?!). These are adults we’re talking about here and they should know better. If we set a midnight deadline to complete a task, I don’t want to argue with these folks over whether a 12:00:01 timestamp is within a margin of error. We want all of our servers to be in lock-step with each other so we can, without hesitation, say all of our timestamps are within a millisecond of the US Naval Observatory’s Atomic Clock and that the midnight oil burners are LATE!
Generally, we make sure all of our servers are synced up to the same Network Time Protocol (NTP) server pool. However, clocks can still drift over time if they are unable to sync up with a server that might also serve a million other hosts and can often become swamped. These are time servers hosted by other people, and it can be difficult to verify how close they are to a standard time.
If you don’t want to rely on the many clusters of NTP servers scattered around the world, there are several enterprise class appliances out there that allow you to set up a time server on your local network by mounting a GPS antennae to the roof of your datacenter. This allows the appliance to utilize the timecode that the network of GPS satellites transmits. This is the same signal that allows you and your iPhone to know exactly how to navigate to the closest 5 Guys Burgers. The GPS timecode is based on the US Naval Observatory’s Atomic Clock and is generally accurate to within 40 nanoseconds. This creates Stratum 1 NTP Server on your own network and is, I dare say, rather sexy! However, these NTP/GPS appliances cost thousands of dollars. That’s a ridiculous sum for something that I an fairly confident that I can build myself for about $150.
With that in mind, I decided it was time to put my soldering iron and my own money to the test. I created this device for my home network as a testbed for atomic clock level awesomeness. If it proves reliable, I’ll probably build additional NTP servers based on Raspberry Pi, but without the little flat screen display, for my company’s datacenters. In the meantime, I can sleep peacefully knowing that my PC backups will start exactly at midnight, that my walkway lights will turn on exactly 5 minutes after sunset, and that my Google controlled thermostat will kick on exactly 30 minutes before my iPhone alarm clock tells me it’s time to get out of bed…. well within +/- 0.00000004 seconds.
These are the pieces of the puzzle I used to make my NTP/GPS clock. ping me if you have specific questions.
Layout & Cutting Table for Sheet Goods
In my workshop I lack the space and the budget to set up a table saw with an out feed area to safely handle full sheets of plywood. I typically only use my table saw once I have the plywood dimensioned under 2′ wide. In the past, when I need to break down a 4′ by 8′ sheet of plywood, I typically set up a series of sacrificial 2X4s on the shop floor and then hunched over the work to run the saw along the fence. This was back ache inducing if I had more that a couple of sheets to work through on any one project.
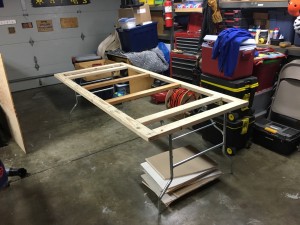
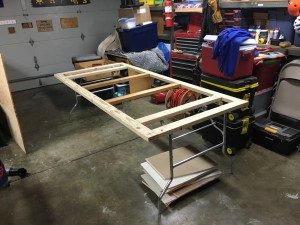
I recently found these extra-wide, heavy-duty folding table legs. These legs are designed for poker tables and the round catering tables that rental companies often use. I anticipate that these legs should last a lifetime. I just needed to build the sacrificial top.
I chose to use kiln dried 2x4s and butt joint them together using pocket hole screws. In order to keep all metal away from the sacrificial side of the table, I used a pocket hole jig and screws designed for 3/4″ thick lumber. I also used 1″ lag screws to bolt the legs onto the frame. As a result, there is 3/4″ of just wood on the surface so I can run my saws and routers through the top without ruining any blades.
As a bonus, I now have a nice assembly table by adding a spare sheet of plywood to the top!
The Suck-It-Up-Inator
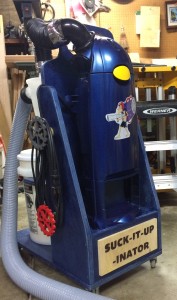
What do you do with an old vacuum cleaner that you’re not quite ready to send to the landfill? How about turning it into a reasonably quiet (compared to a shop-vac) dust collector for your wood shop?! Of course when I started gluing things together and attaching hoses, it quickly looked like a mad-science project. So, with a nod to my children’s favorite TV show, I give you the “Suck-It-Up-Inator!”
